No matter how old I get, I’m still using the same techniques and making the same projects I was making as a kid. One of these everlasting projects began on the day I figured out how to make a pop-up birthday card. I remember the teacher and classroom, but can’t remember what the lesson was, although it involved cutting into a piece of paper to make shapes (namely a rectangle) appear to pop off the page. I remember putting it together in my young mind that I now had the key to making those super awesome pop-up cards I’d previously only seen in stores.
Below is a tutorial on how to make a basic pop-up card, as I first discovered in elementary school. I started each of those cards with 3 sheets of printer paper, markers, scissors, and clear tape. I’ve come a long way since then – discovering construction paper, then marbleized construction paper, and now scrap-booking paper.
What you’ll need for a basic card:
- 3 sheets of white printer paper
- Markers (or colored pencils, or crayons)
- clear tape
- scissors
Starting with one sheet of paper (hopefully not gnawed by cats like mine), fold it in half like a hamburger. This will be the fold for your card. Feel free to cut the paper smaller to make a smaller card, but keep in mind the pop-up part takes up some of your message writing space as is, so you mightn’t want to go too small.

Bend your paper again so it’s now in quarters. Be careful not to fold and crease the paper, you’re only doing this so you can make symmetrical cuts on both sides of your paper. Depending on how big you want your pop-up piece to be, make a cut about 1.5 inches high and about 1 inch from the center fold.


Unbend the paper back to its original half fold. Bend the flap you created upwards and crease the paper. Flip the paper over and fold the same way in the other direction.

Then, pop your rectangular platform through the inside of the card. (The side with the crease facing inward.)

Now it’s time to create some decorations! Using markers (that aren’t running out of ink…) draw whatever designs you want to pop-up inside your card. I have opted for a personal favorite of my younger self, random shapes and colors! When you’re done drawing the shapes, cut them out of the paper. Figure out how you want to arrange the pieces, then use little pieces of rolled up tape to stick them together. To be safe, run a piece of tape along the whole back of your design to keep it intact. Then, use another rolled piece of tape to adhere the design to the front part of your pop-up platform. Make sure the design is high enough that it doesn’t affect the closing and opening of the card. (Will be more noticeable with heavier paper.)


You’ll notice that you can see underneath the platform to whatever surface is below. This is where your 3rd piece of paper comes in. Fold the paper in half like a hamburger, and slide it into place directly behind the card and tape it into place. Tape one half first (make sure to get the corners and middle secure), then bend the card closed to tape the second half. This ensures there’s enough leeway for your card to close properly. The hole disappears, and your card is ready for writing!


You might be wondering why I recommend using tape for this project. After some trial and error, little me discovered that printer paper was flimsy, and that adding glue made it warp and bubble and caused the markers to run. Once I discovered construction paper, that’s when I made the switch to Elmer’s.
This card took me about 5 minutes to make today for this demo. I’m not sure how long it took at 8 years old, but I’ll tell you that the birthday card I made for my father yesterday took about 5 hours. Like I said, my skills have advanced and the detail has increased.
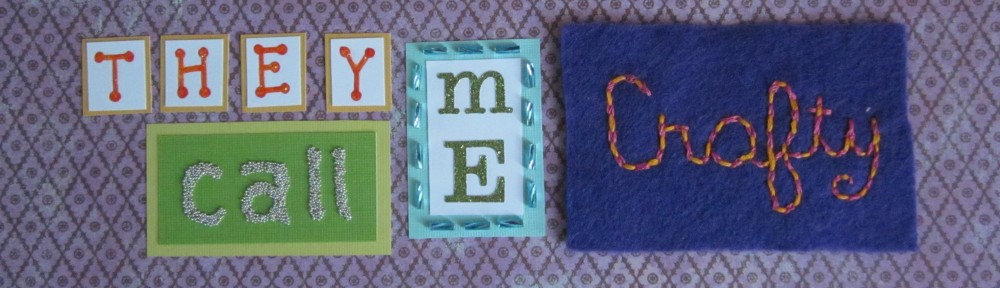
Below are some of the cards people have received from me in the past – and note that I’m aware the first isn’t a pop-up. I can’t include dad’s latest birthday card because he hasn’t received it yet, but you get the idea. Sorry for the poor quality of the photos, it’s another skill of mine that has improved over the years.


Not that you asked, but you might be curious… I do cut out all my shapes and letters free-form. There’s nothing wrong with drawing out designs first, this is just something I like to do because it adds an extra layer of challenge for me. It’s kind of funny, how everyone has their “thing.” I’m not the kind of person who can jam on an instrument without sheet music, but give me scissors, paper, and glue, (and the occasional sticker), and I can create a whole new colorful world from nothing.


One of the head counselors at camp, which was my home away from home for many summers, made a comment once that little kids have smaller worlds, and as you grow your world expands. I found this sentiment to be particularly true when it comes to how I’ve evolved as an artist. I’m still making these cards the same way I started when I was a kid, but my medium, creativity, and sensitivity to detail have all grown up along with me. With the discovery of better quality “ingredients,” these cards have a certain sophistication about them, especially considering they’re handmade.
Now that I’ve given you the tools to make your own works of art, I’d love to hear how you’ve added your own flair and taken it to the next level.